
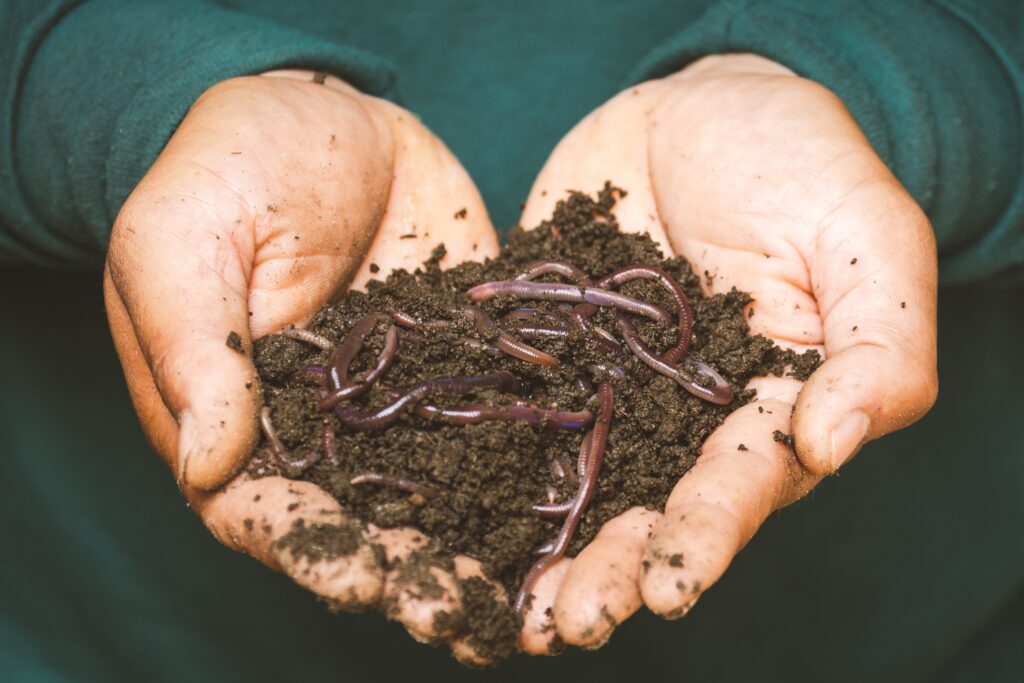
For avid anglers, raising your own bait worms can be a fun and rewarding activity. Having a steady, reliable source of live worms ready to harvest whenever you want to go fishing is a major advantage. This article will cover everything you need to know to get started growing worms at home for bait.
Benefits of Raising Your Own Bait Worms
Some of the key benefits of raising your own worms include:
- Always have fresh, lively worms ready for fishing trips
- Lower cost compared to buying worms repeatedly
- Control over the worm species that work best for your needs
- Allows harvesting worms in small quantities as needed
- Convenience of having worms on hand whenever the urge to fish strikes
- Satisfaction of producing your own bait
Equipment Needed
Raising worms requires some simple supplies:
- Worm bin – A plastic storage tote or wooden box with ventilation holes
- Bedding material – Shredded paper, peat, or coconut fiber
- Water spray bottle
- Led light or heat source
- Mineral supplements
- Food waste like vegetable scraps
Optional items include a thermometer to monitor temperature and a separator to divide worms and castings.
Setting Up the Worm Bin
Pick a bin at least 12” deep with a lid. Drill ventilation holes in the sides and lid. Layer several inches of moist bedding in the bottom. Add your starter worms on top and cover with more bedding. Keep the bedding moist but not saturated. Place the bin in a cool, dark area like a basement or garage.
Best Bedding Materials for Worms
Good bedding provides moisture, nutrients, and airflow. The best options include:
- Shredded newspaper or cardboard – Free and readily available. Helps aerate the bin.
- Coconut coir – Absorbs and retains moisture well while resisting compaction.
- Peat or commercial potting mixes – Keep a light texture worms can navigate. Can be costly over time.
- Compost or rotted manure – Adds nutrients, but may compact and exclude air if used alone.
Avoid glass, plastics, or fabrics that won’t decompose.
Feeding Your Worms
Worms can eat half their body weight daily. Feed a variety of scraps:
- Fruits and veggies – Rich in nutrients worms love. Cut into small pieces.
- Coffee grounds and filters – Adds texture and nutrients.
- Crushed eggshells – Provides calcium for worms.
- Shredded paper – For fiber and airflow. Don’t let it get too moist.
Avoid meat, oils, citrus, onions, and processed foods.
Feeding worm baits for fishing can significantly improve your catch rate. Always ensure that your worms are well-nourished and lively before using them. I recommend feeding them with organic materials like coffee grounds, vegetable scraps, and shredded newspaper a few days before your fishing trip. Healthy, lively worms wriggle more, making them irresistible to fish. Remember, a well-fed worm is often the difference between a good day and a great day on the water!
Maintaining Ideal Conditions
Worms prefer cool, moist, dark environments:
- Temperature – Ideal is 55-75°F. Use a heat mat or light bulb to maintain warmth.
- Moisture – Bedding should feel like a wrung-out sponge. Mist as needed.
- Aeration – Fluff up bedding regularly to prevent compacting.
- Light – Keep bin away from direct light. Use an LED if heat is needed.
- Acidity – Sprinkle in crushed eggshells or lime if the bin becomes too acidic.
Harvesting Worms for Fishing
Use one of these techniques about every 2-3 months to harvest worms:
- Hand picking – Move bedding aside and grab big worms for immediate use. Replace bedding when done.
- Bait trapping – Bury a nylon mesh trap filled with grain or coffee grounds to lure worms overnight.
- Migration bins – Push all worms to one side, add fresh bedding to the other, and harvest worms that migrate overnight.
- Sifting – Pass bedding through a wire mesh screen. Collect worms and replace bedding.
Rinse worms before using for fishing.
Storing Extra Worms
Handle worms gently to avoid damage. Short term storage options include:
- Refrigerator – Place worms in damp newspaper or peat in a container with small holes. Change material daily.
- Cooler – Use ice packs and damp material. Keep out of direct contact with ice.
- Worm spa – Aerate water and feed worms small amounts of grain and potato.
Worms can be kept for weeks this way.
Troubleshooting Common Worm Bin Issues
Keeping your worm bin thriving requires avoiding or correcting some common problems. Here are some troubleshooting tips:
Odor – A rotten or ammonia smell means too much nitrogen. Reduce feeding, add carbon like shredded paper, or change bedding.
Mites – Tiny red or white bugs indicate the bin is too acidic. Add crushed eggshells or lime to increase pH.
Escapees – Worms crawling up the sides or lid means conditions are too wet or acidic. Add bedding, reduce feeding, and increase ventilation.
Dead worms – Excessive moisture or high temperatures can be fatal. Make sure bedding isn’t saturated and maintain cool temps.
Flies – Fruit flies or gnats point to excess food waste. Bury or remove scraps, cover with bedding, and stop feeding until pests disappear.
Lack of worms – Low numbers may be from overharvesting, poor conditions, or old age. Increase food and patience for populations to rebound.
By identifying issues early and making appropriate adjustments, you can get your worm bin back on track and producing plenty of worms for fishing.
Best Worm Species for Fishing
Top fishing worms include:
- Red wigglers – Popular for ease of raising and compatibility with fish. Fast reproducers.
- European nightcrawlers – Larger size appeals to big fish. More sensitive to harvest.
- Manure worms – Hearty species good for compost bins. Readily eaten by fish.
- African nightcrawlers – Impressive size. Require warm tropical conditions.
Experiment to see which species thrive in your bin and catch fish in your area.
Raising your own worms for fishing bait can save money while letting you control the worm supply. Follow the guidelines here to maintain a productive worm bin. In no time, you’ll have fresh, lively worms ready to go catch fish anytime the urge strikes.